引入该引入的库
import torch
import torch.nn as nn
import matplotlib.pyplot as plt
import torch.nn.functional as F
import torchvision
import torch.optim as optim
%matplotlib inline
import os
import shutil
import glob
os.environ["KMP_DUPLICATE_LIB_OK"]="TRUE"
注意:os.environ[“KMP_DUPLICATE_LIB_OK”]=“TRUE” 必须要引入否则用plt出错
数据集整理
img_dir = r"F:\播放器\1、pytorch全套入门与实战项目\课程资料\参考代码和部分数据集\参考代码\参考代码\29-42节参考代码和数据集\四种天气图片数据集\dataset2"
base_dir = r"./dataset/4weather"

img_list = glob.glob(img_dir+"/*.*")
test_dir = "test"
train_dir = "train"
species = ["cloudy","rain","shine","sunrise"]
for idx,img_path in enumerate(img_list):
    _,img_name = os.path.split(img_path)
    if idx%5==0:

        for specie in species:
            if img_path.find(specie) > -1:
                dst_dir = os.path.join(test_dir,specie)
                os.makedirs(dst_dir,exist_ok=True)
                dst_path = os.path.join(dst_dir,img_name)
    else:

        for specie in species:
            if img_path.find(specie) > -1:
                dst_dir = os.path.join(train_dir,specie)
                os.makedirs(dst_dir,exist_ok=True)
                dst_path = os.path.join(dst_dir,img_name)
    shutil.copy(img_path,dst_path)
生成测试和训练的文件夹,
目录结构如下:
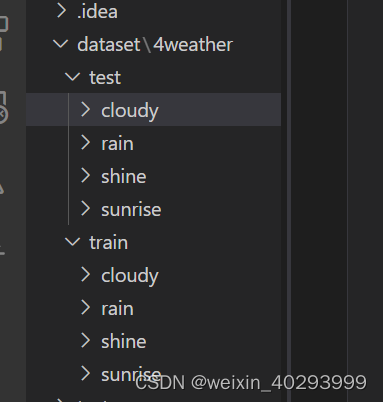
rain 下面就是图片了
构建ds和dl
from torchvision import transforms
transform = transforms.Compose([transforms.Resize((96,96)),transforms.ToTensor(),transforms.Normalize(mean=[0.5,0.5,0.5],std=[0.5,0.5,0.5])])
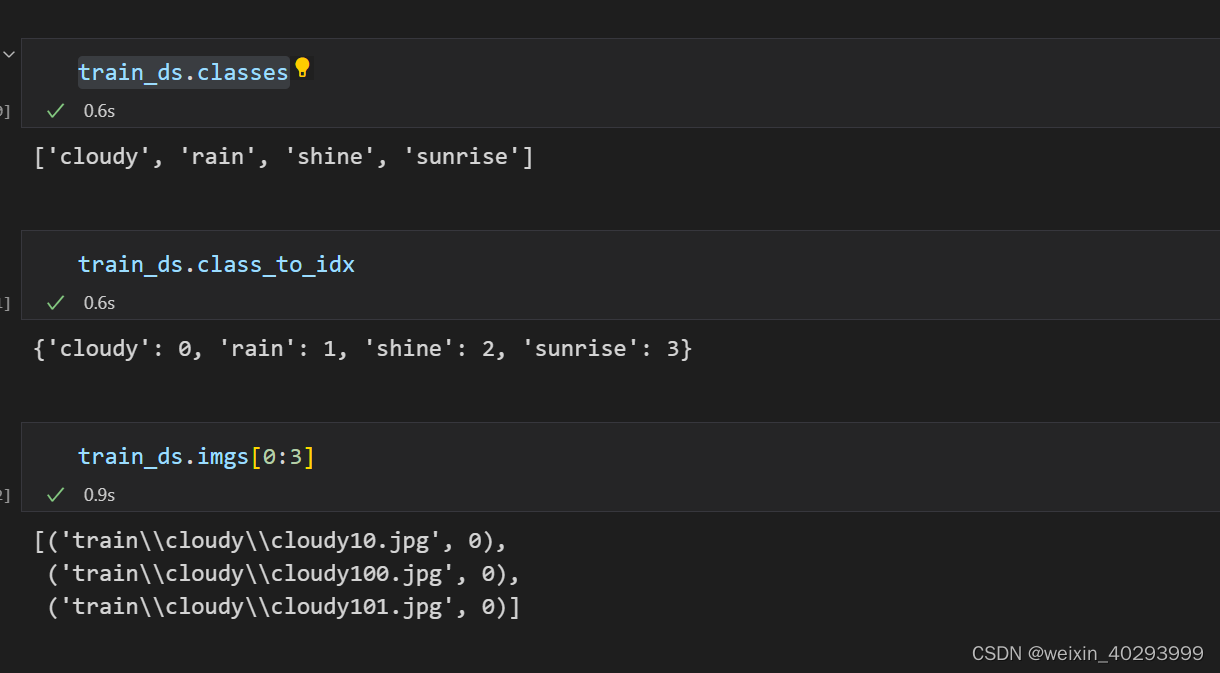
train_ds=torchvision.datasets.ImageFolder(train_dir,transform)
test_ds = torchvision.datasets.ImageFolder(train_dir,transform)
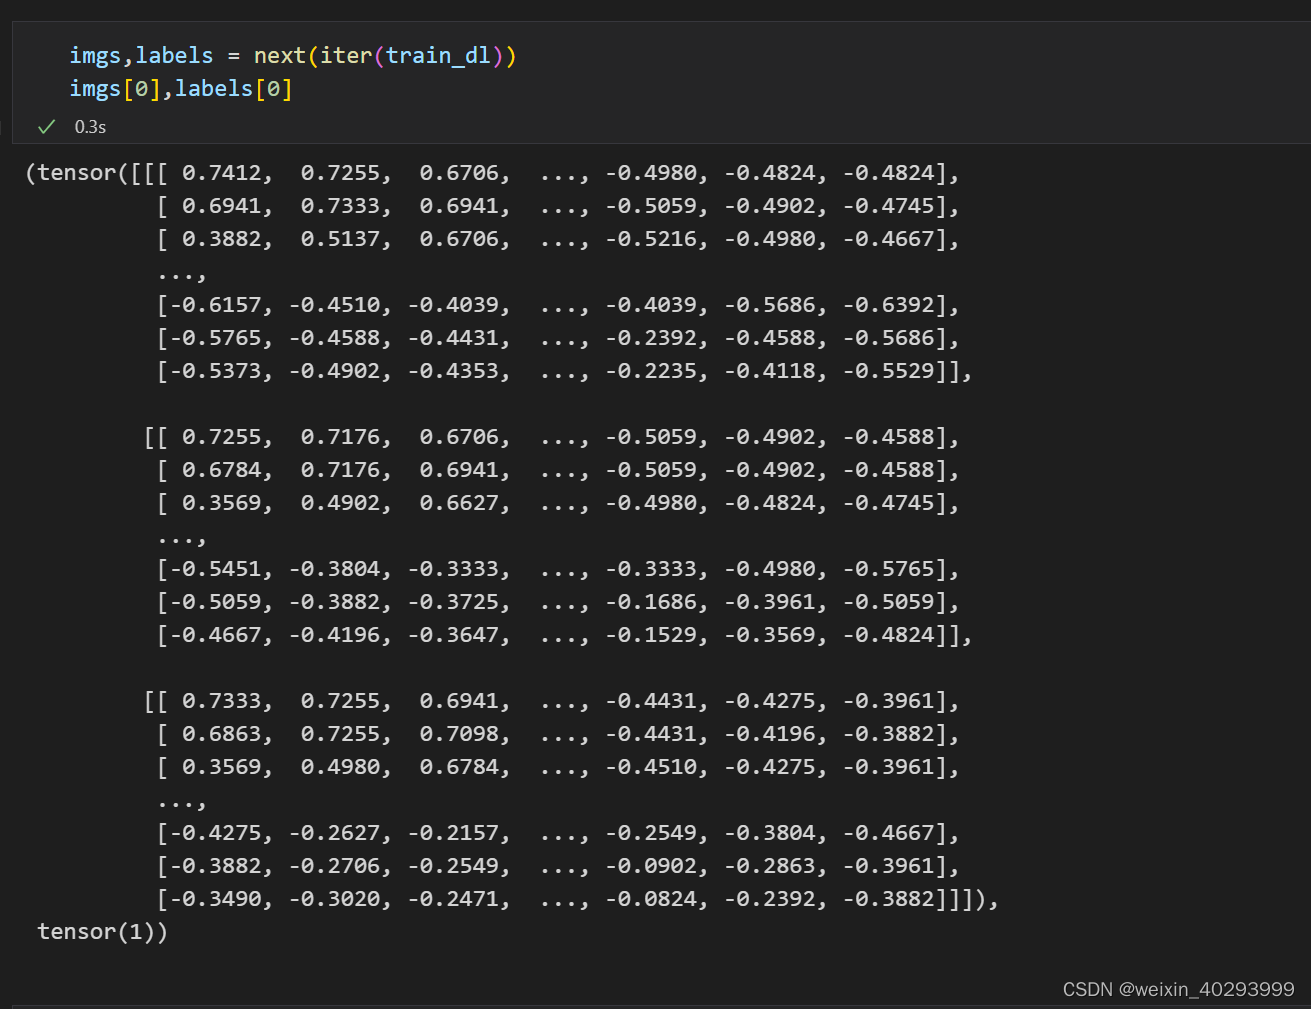
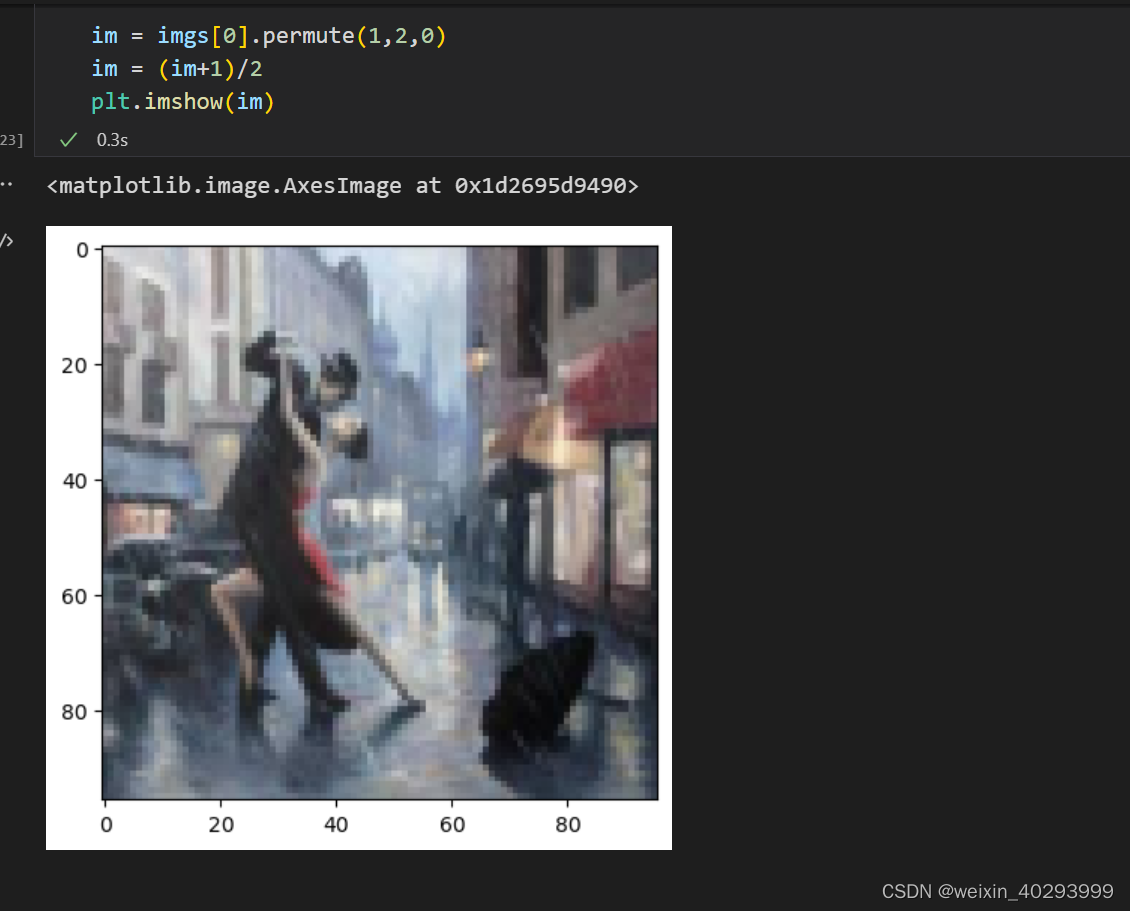
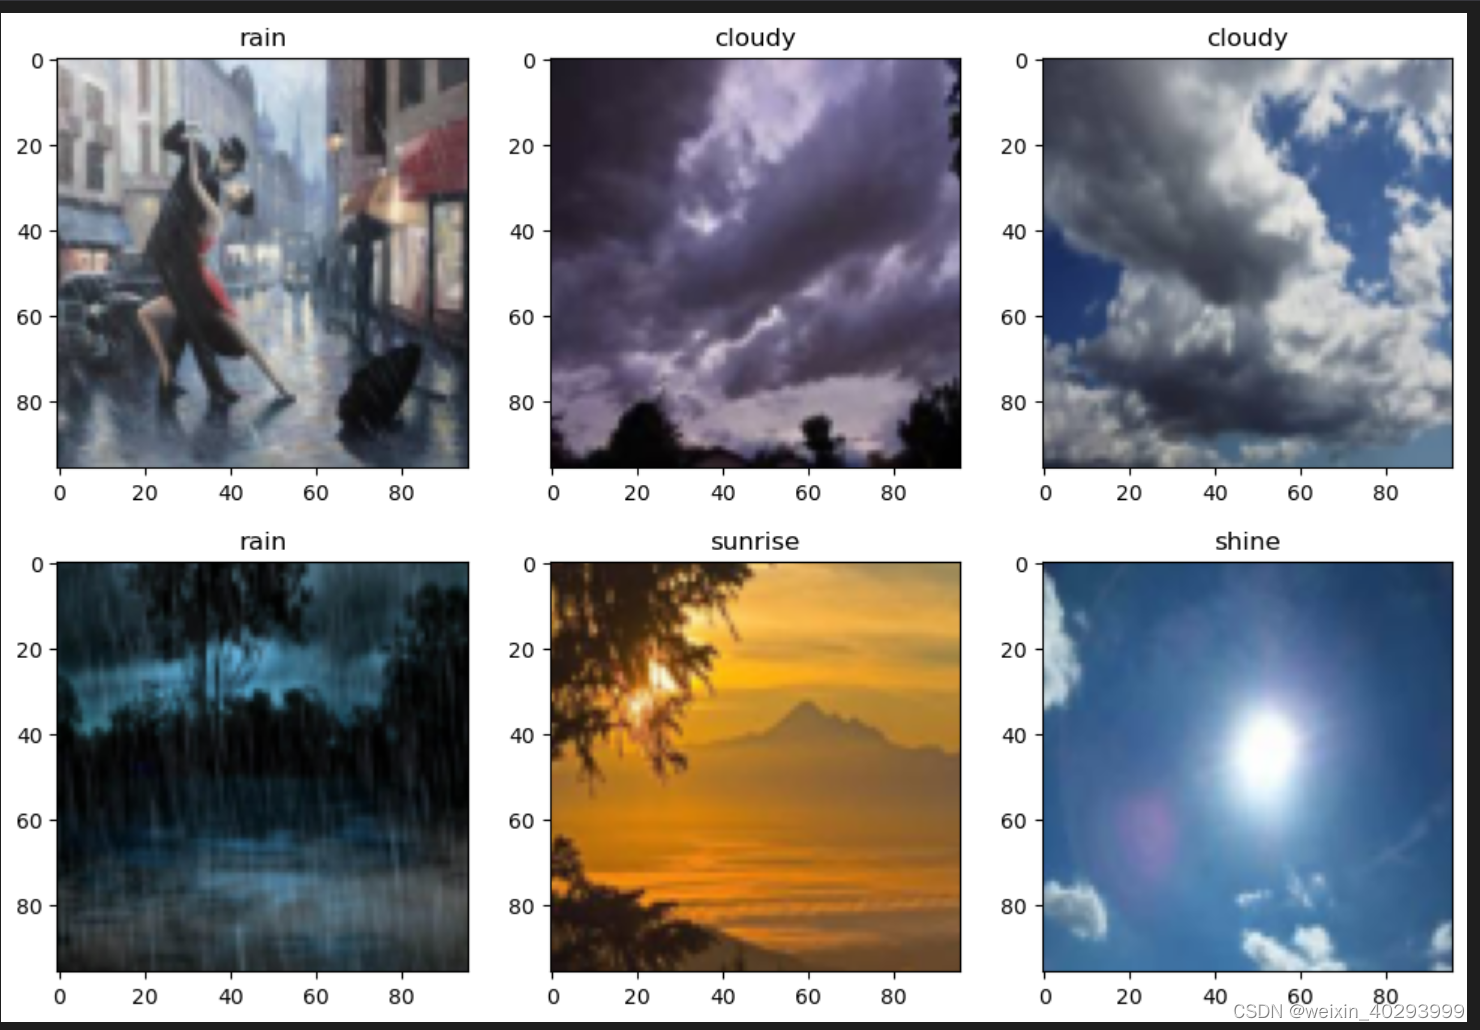
一张图片效果,这是rain图片 这里需要转换维度,把channel放到最后。同时把数据拉到0-1之间,原本std 和mean 【0.5,0,5】数据在-0.5~0.5之间
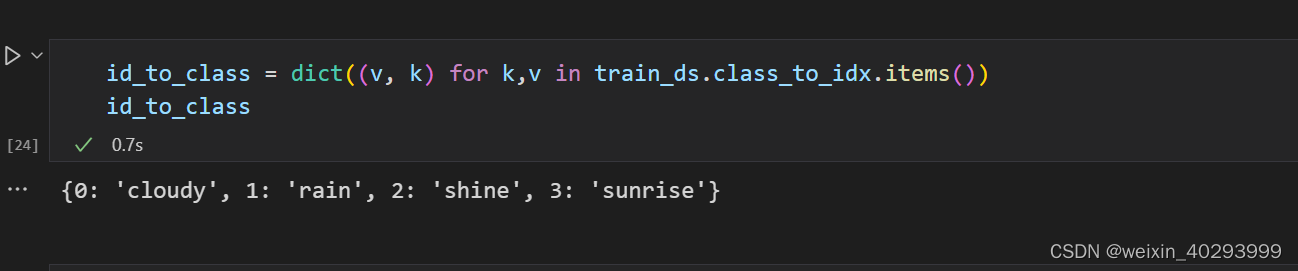
类的映射
plt.figure(figsize=(12, 8))
for i, (img, label) in enumerate(zip(imgs[:6], labels[:6])):
    img = (img.permute(1, 2, 0).numpy() + 1)/2
    plt.subplot(2, 3, i+1)
    plt.title(id_to_class.get(label.item()))
    plt.imshow(img)
这个方法要学会
定义网络
class Net(nn.Module):
def __init__(self) -> None:
super().__init__()
self.conv1 = nn.Conv2d(3,16,3)
self.conv2 = nn.Conv2d(16,32,3)
self.conv3 = nn.Conv2d(32,64,3)
self.pool = nn.MaxPool2d(2,2)
self.dropout = nn.Dropout(0.3)
self.fc1 = nn.Linear(64*10*10,1024)
self.fc2 = nn.Linear(1024,4)
def forward(self,x):
x = F.relu(self.conv1(x))
x = self.pool(x)
x = F.relu(self.conv2(x))
x = self.pool(x)
x = F.relu(self.conv3(x))
x = self.pool(x)
x = self.dropout(x)
# print(x.size()) 这里是可以计算出来的,需要掌握计算方法
x = x.view(-1,64*10*10)
x = F.relu(self.fc1(x))
x = self.dropout(x)
return self.fc2(x)
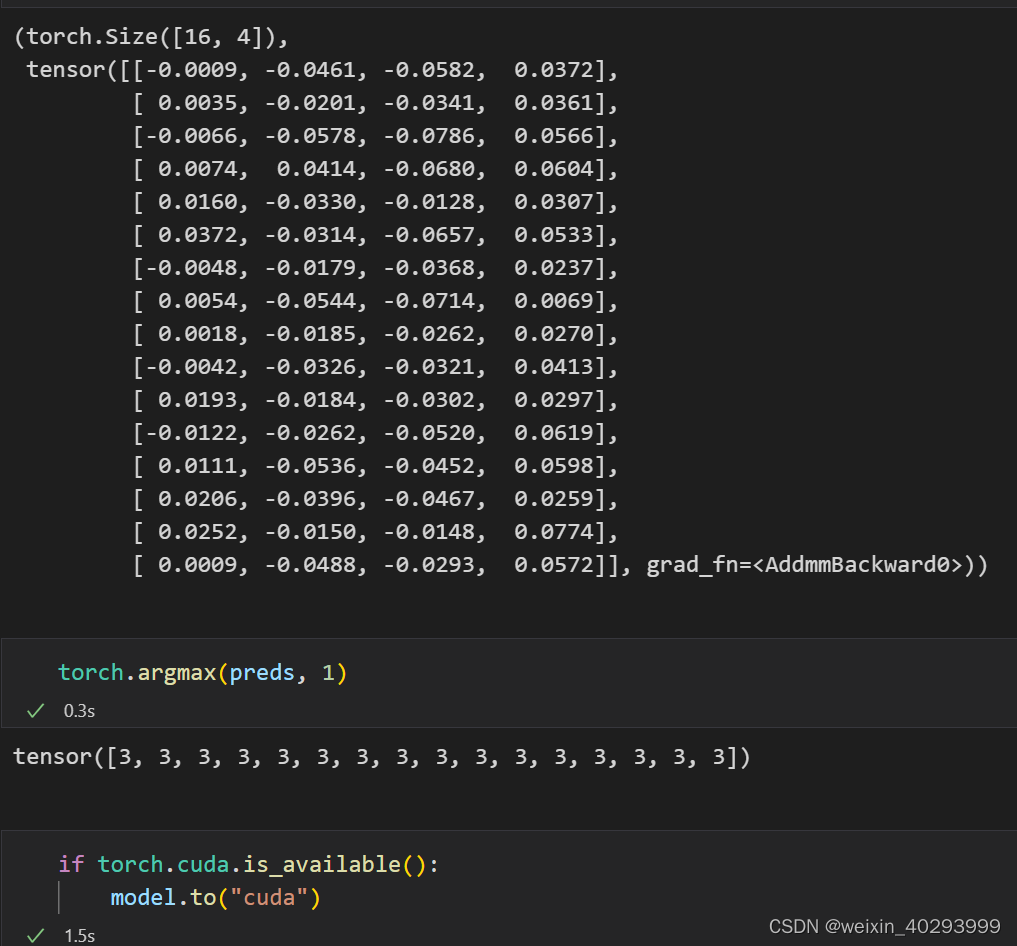
model = Net()
preds = model(imgs)
preds.shape, preds
定义损失函数和优化函数:
loss_fn = nn.CrossEntropyLoss()
optim = torch.optim.Adam(model.parameters(),lr=0.001)
定义网络
def fit(epoch, model, trainloader, testloader):
    correct = 0
    total = 0
    running_loss = 0
    for x, y in trainloader:
        if torch.cuda.is_available():
            x, y = x.to('cuda'), y.to('cuda')
        y_pred = model(x)
        loss = loss_fn(y_pred, y)
        optim.zero_grad()
        loss.backward()
        optim.step()
        with torch.no_grad():
            y_pred = torch.argmax(y_pred, dim=1)
            correct += (y_pred == y).sum().item()
            total += y.size(0)
            running_loss += loss.item()

    epoch_loss = running_loss / len(trainloader.dataset)
    epoch_acc = correct / total


    test_correct = 0
    test_total = 0
    test_running_loss = 0

    with torch.no_grad():
        for x, y in testloader:
            if torch.cuda.is_available():
                x, y = x.to('cuda'), y.to('cuda')
            y_pred = model(x)
            loss = loss_fn(y_pred, y)
            y_pred = torch.argmax(y_pred, dim=1)
            test_correct += (y_pred == y).sum().item()
            test_total += y.size(0)
            test_running_loss += loss.item()

    epoch_test_loss = test_running_loss / len(testloader.dataset)
    epoch_test_acc = test_correct / test_total


    print('epoch: ', epoch,
          'loss: ', round(epoch_loss, 3),
          'accuracy:', round(epoch_acc, 3),
          'test_loss: ', round(epoch_test_loss, 3),
          'test_accuracy:', round(epoch_test_acc, 3)
             )

    return epoch_loss, epoch_acc, epoch_test_loss, epoch_test_acc
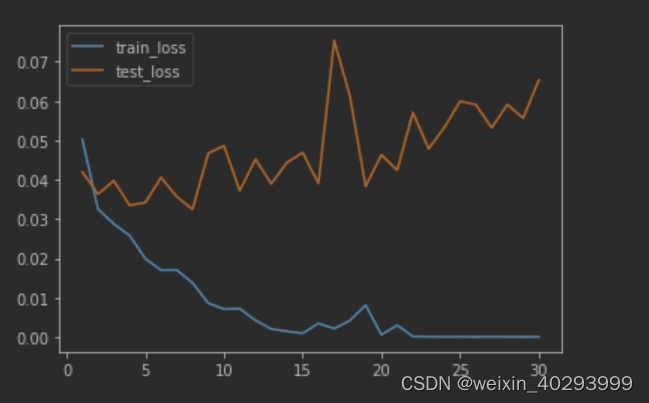
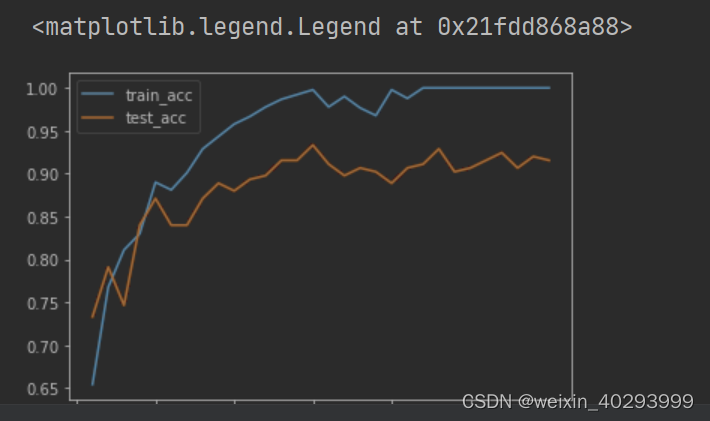
训练:
epochs = 30
train_loss = []
train_acc = []
test_loss = []
test_acc = []

for epoch in range(epochs):
    epoch_loss, epoch_acc, epoch_test_loss, epoch_test_acc = fit(epoch,
                                                                 model,
                                                                 train_dl,
                                                                 test_dl)
    train_loss.append(epoch_loss)
    train_acc.append(epoch_acc)
    test_loss.append(epoch_test_loss)
    test_acc.append(epoch_test_acc)
epoch:  0 loss:  0.043 accuracy: 0.714 test_loss:  0.029 test_accuracy: 0.809
epoch:  1 loss:  0.03 accuracy: 0.807 test_loss:  0.023 test_accuracy: 0.867
epoch:  2 loss:  0.024 accuracy: 0.857 test_loss:  0.018 test_accuracy: 0.888
epoch:  3 loss:  0.021 accuracy: 0.869 test_loss:  0.017 test_accuracy: 0.894
epoch:  4 loss:  0.018 accuracy: 0.886 test_loss:  0.014 test_accuracy: 0.921
epoch:  5 loss:  0.017 accuracy: 0.897 test_loss:  0.022 test_accuracy: 0.869
epoch:  6 loss:  0.013 accuracy: 0.923 test_loss:  0.008 test_accuracy: 0.944
epoch:  7 loss:  0.009 accuracy: 0.947 test_loss:  0.011 test_accuracy: 0.924
epoch:  8 loss:  0.006 accuracy: 0.966 test_loss:  0.004 test_accuracy: 0.988
epoch:  9 loss:  0.004 accuracy: 0.979 test_loss:  0.002 test_accuracy: 0.998
epoch:  10 loss:  0.004 accuracy: 0.979 test_loss:  0.005 test_accuracy: 0.966
比较重要的点,
1.分类的数据集布局要记住
2.图片经过conv2 多次后的值要会算 todo
3.图片展示的方法要会