1. Sentinel 是什么?
Sentinel是由阿里中间件团队开源的,面向分布式服务架构的轻量级高可用流量控制组件。
2. 主要优势和特性
轻量级,核心库无多余依赖,性能损耗小。
方便接入,开源生态广泛。
丰富的流量控制场景。
易用的控制台,提供实时监控、机器发现、规则管理等能力。
完善的扩展性设计,提供多样化的 SPI 接口,方便用户根据需求给 Sentinel 添加自定义的逻辑。
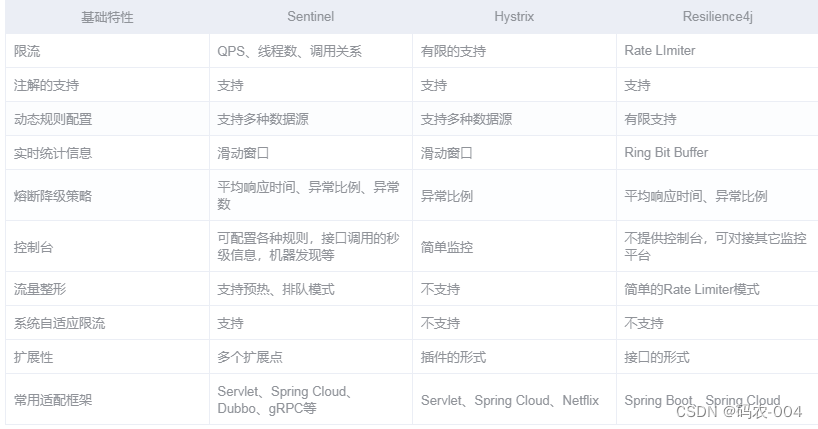
3、Sentinel、Hystrix、Resilience4j的异同
4、怎么安装和启动Dashboard
github地址

https://github.com/alibaba/Sentinel/releases
wget -P /opt/downloads https://github.com/alibaba/Sentinel/releases/download/1.6.0/sentinel-dashboard-1.7.1.jar
mkdir /opt/sentinel-dashboard
cp /opt/downloads/sentinel-dashboard-1.7.1.jar /opt/sentinel-dashboard/sentinel-dashboard-1.7.1.jar
启动:java -Dserver.port=8718 -jar sentinel-dashboard-1.7.1.jar
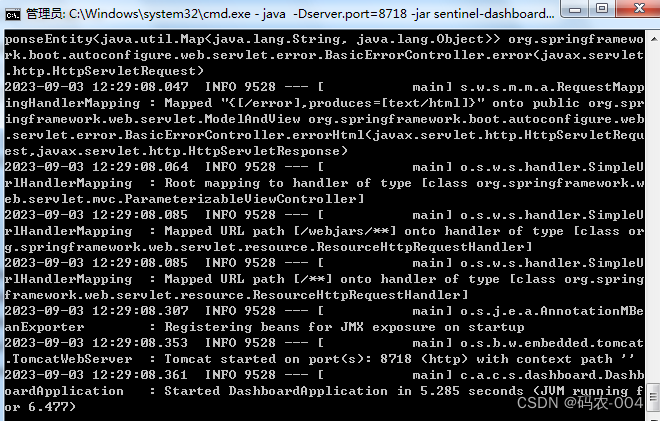
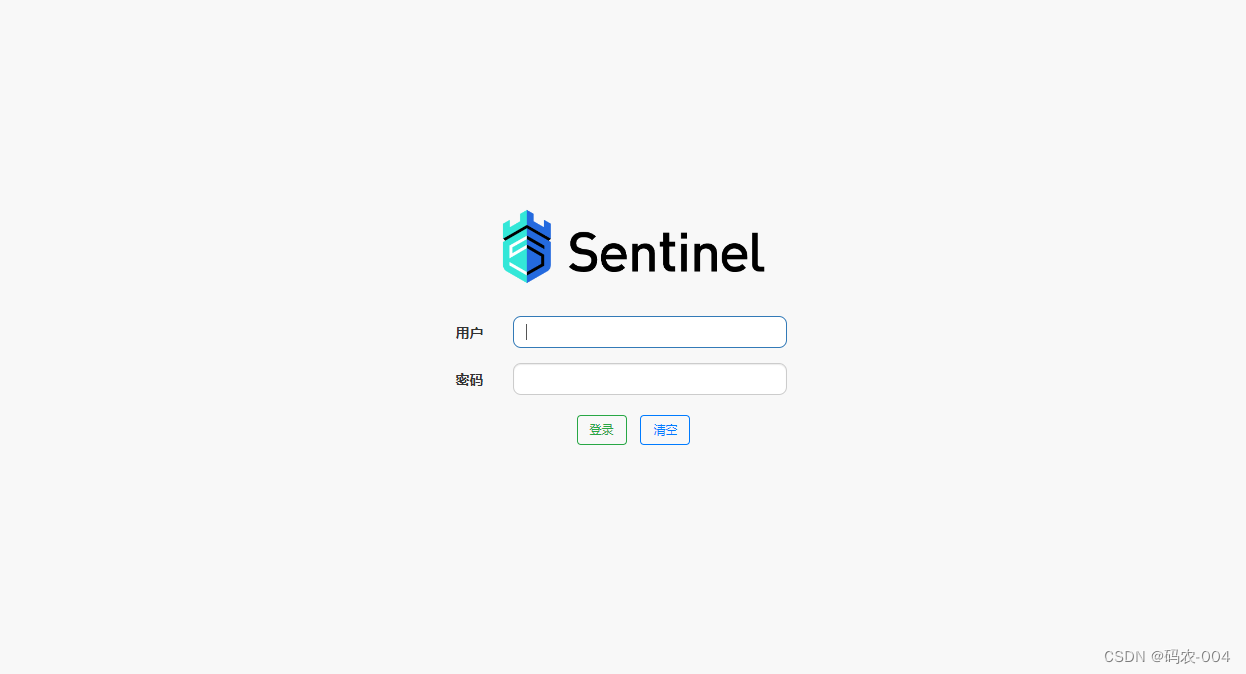
账号密码 sentinel sentinel
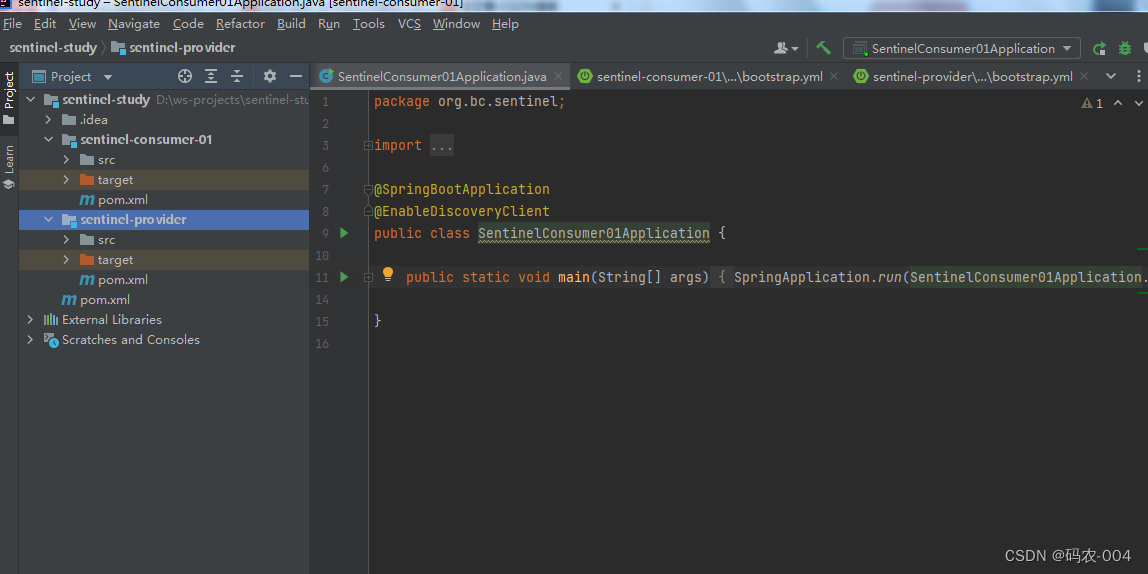
5、集成代码:
<?xml version="1.0" encoding="UTF-8"?>
<project xmlns="http://maven.apache.org/POM/4.0.0"
         xmlns:xsi="http://www.w3.org/2001/XMLSchema-instance"
         xsi:schemaLocation="http://maven.apache.org/POM/4.0.0 http://maven.apache.org/xsd/maven-4.0.0.xsd">
    <modelVersion>4.0.0</modelVersion>

    <groupId>org.bc.sentinel</groupId>
    <artifactId>sentinel-study</artifactId>
    <version>1.0-SNAPSHOT</version>
    <modules>
        <module>sentinel-provider</module>
        <module>sentinel-consumer-01</module>
    </modules>

    <packaging>pom</packaging>

    <parent>
        <groupId>org.springframework.boot</groupId>
        <artifactId>spring-boot-starter-parent</artifactId>
        <version>2.3.1.RELEASE</version>
    </parent>

    <properties>
        <!-- Spring Cloud Hoxton.SR8 依赖 -->
        <spring-cloud.version>Hoxton.SR8</spring-cloud.version>
        <!-- spring cloud alibaba 依赖 -->
        <spring-cloud-alibaba.version>2.2.4.RELEASE</spring-cloud-alibaba.version>
    </properties>
    <dependencies>
        <!-- lombok 工具通过在代码编译时期动态的将注解替换为具体的代码,
        IDEA 需要添加 lombok 插件 -->
        <dependency>
            <groupId>org.projectlombok</groupId>
            <artifactId>lombok</artifactId>
            <version>1.16.18</version>
        </dependency>
        <dependency>
            <groupId>org.springframework.boot</groupId>
            <artifactId>spring-boot-starter-test</artifactId>
            <scope>test</scope>
        </dependency>
        <dependency>
            <groupId>org.springframework.boot</groupId>
            <artifactId>spring-boot-starter-actuator</artifactId>
        </dependency>
        <dependency>
            <groupId>org.apache.commons</groupId>
            <artifactId>commons-lang3</artifactId>
            <version>3.11</version>
        </dependency>
        <dependency>
            <groupId>org.apache.commons</groupId>
            <artifactId>commons-collections4</artifactId>
            <version>4.4</version>
        </dependency>
        <dependency>
            <groupId>cn.hutool</groupId>
            <artifactId>hutool-all</artifactId>
            <version>5.6.0</version>
        </dependency>
        <!-- 引入jwt-->
        <dependency>
            <groupId>io.jsonwebtoken</groupId>
            <artifactId>jjwt-api</artifactId>
            <version>0.10.5</version>
        </dependency>
        <dependency>
            <groupId>io.jsonwebtoken</groupId>
            <artifactId>jjwt-impl</artifactId>
            <version>0.10.5</version>
            <scope>runtime</scope>
        </dependency>
        <dependency>
            <groupId>io.jsonwebtoken</groupId>
            <artifactId>jjwt-jackson</artifactId>
            <version>0.10.5</version>
            <scope>runtime</scope>
        </dependency>
        <dependency>
            <groupId>com.alibaba</groupId>
            <artifactId>fastjson</artifactId>
            <version>1.2.47</version>
        </dependency>
    </dependencies>

    <!-- 项目依赖管理 父项目只是声明依赖,子项目需要写明需要的依赖(可以省略版本信息) -->
    <dependencyManagement>
        <dependencies>
            <!-- spring cloud 依赖 -->
            <dependency>
                <groupId>org.springframework.cloud</groupId>
                <artifactId>spring-cloud-dependencies</artifactId>
                <version>${spring-cloud.version}</version>
                <type>pom</type>
                <scope>import</scope>
            </dependency>

            <!-- spring cloud alibaba 依赖 -->
            <dependency>
                <groupId>com.alibaba.cloud</groupId>
                <artifactId>spring-cloud-alibaba-dependencies</artifactId>
                <version>${spring-cloud-alibaba.version}</version>
                <type>pom</type>
                <scope>import</scope>
            </dependency>
        </dependencies>
    </dependencyManagement>

    <!-- 配置远程仓库 -->
    <repositories>
        <repository>
            <id>spring-milestones</id>
            <name>Spring Milestones</name>
            <url>https://repo.spring.io/milestone</url>
            <snapshots>
                <enabled>false</enabled>
            </snapshots>
        </repository>
    </repositories>

</project>
<?xml version="1.0" encoding="UTF-8"?>
<project xmlns="http://maven.apache.org/POM/4.0.0"
         xmlns:xsi="http://www.w3.org/2001/XMLSchema-instance"
         xsi:schemaLocation="http://maven.apache.org/POM/4.0.0 http://maven.apache.org/xsd/maven-4.0.0.xsd">
    <parent>
        <artifactId>sentinel-study</artifactId>
        <groupId>org.bc.sentinel</groupId>
        <version>1.0-SNAPSHOT</version>
    </parent>
    <modelVersion>4.0.0</modelVersion>
    <packaging>jar</packaging>
    <artifactId>sentinel-provider</artifactId>

    <dependencies>
        <dependency>
            <groupId>org.springframework.boot</groupId>
            <artifactId>spring-boot-starter-web</artifactId>
        </dependency>

        <!--热部署-->
        <dependency>
            <groupId>org.springframework.boot</groupId>
            <artifactId>spring-boot-devtools</artifactId>
            <scope>runtime</scope>
            <optional>true</optional>
        </dependency>

        <dependency>
            <groupId>org.springframework.boot</groupId>
            <artifactId>spring-boot-starter-test</artifactId>
            <scope>test</scope>
        </dependency>

        <!-- 服务注册  服务发现需要引入的 -->
        <dependency>
            <groupId>com.alibaba.cloud</groupId>
            <artifactId>spring-cloud-starter-alibaba-nacos-discovery</artifactId>
        </dependency>
        <!--健康监控-->
        <dependency>
            <groupId>org.springframework.boot</groupId>
            <artifactId>spring-boot-starter-actuator</artifactId>
        </dependency>
        <!--Nacos 配置中心依赖-->
        <dependency>
            <groupId>com.alibaba.cloud</groupId>
            <artifactId>spring-cloud-starter-alibaba-nacos-config</artifactId>
        </dependency>
        <!--Sentinel 组件依赖-->
        <dependency>
            <groupId>com.alibaba.cloud</groupId>
            <artifactId>spring-cloud-starter-alibaba-sentinel</artifactId>
        </dependency>

        <!--sentinel持久化 访问nacos数据源的依赖-->
        <dependency>
            <groupId>com.alibaba.csp</groupId>
            <artifactId>sentinel-datasource-nacos</artifactId>
        </dependency>
        <!--集群流控客户端依赖-->
        <dependency>
            <groupId>com.alibaba.csp</groupId>
            <artifactId>sentinel-cluster-client-default</artifactId>
        </dependency>
        <!--集群流控服务端依赖-->
        <dependency>
            <groupId>com.alibaba.csp</groupId>
            <artifactId>sentinel-cluster-server-default</artifactId>
        </dependency>
    </dependencies>
</project>
<?xml version="1.0" encoding="UTF-8"?>
<project xmlns="http://maven.apache.org/POM/4.0.0"
         xmlns:xsi="http://www.w3.org/2001/XMLSchema-instance"
         xsi:schemaLocation="http://maven.apache.org/POM/4.0.0 http://maven.apache.org/xsd/maven-4.0.0.xsd">
    <parent>
        <artifactId>sentinel-study</artifactId>
        <groupId>org.bc.sentinel</groupId>
        <version>1.0-SNAPSHOT</version>
    </parent>
    <modelVersion>4.0.0</modelVersion>
    <packaging>jar</packaging>
    <artifactId>sentinel-consumer-01</artifactId>

    <dependencies>
        <dependency>
            <groupId>org.springframework.boot</groupId>
            <artifactId>spring-boot-starter-web</artifactId>
        </dependency>

        <!--热部署-->
        <dependency>
            <groupId>org.springframework.boot</groupId>
            <artifactId>spring-boot-devtools</artifactId>
            <scope>runtime</scope>
            <optional>true</optional>
        </dependency>

        <dependency>
            <groupId>org.springframework.boot</groupId>
            <artifactId>spring-boot-starter-test</artifactId>
            <scope>test</scope>
        </dependency>

        <!-- 服务注册  服务发现需要引入的 -->
        <dependency>
            <groupId>com.alibaba.cloud</groupId>
            <artifactId>spring-cloud-starter-alibaba-nacos-discovery</artifactId>
        </dependency>
        <!--健康监控-->
        <dependency>
            <groupId>org.springframework.boot</groupId>
            <artifactId>spring-boot-starter-actuator</artifactId>
        </dependency>
        <!--Nacos 配置中心依赖-->
        <dependency>
            <groupId>com.alibaba.cloud</groupId>
            <artifactId>spring-cloud-starter-alibaba-nacos-config</artifactId>
        </dependency>
        <!--Sentinel 组件依赖-->
        <dependency>
            <groupId>com.alibaba.cloud</groupId>
            <artifactId>spring-cloud-starter-alibaba-sentinel</artifactId>
        </dependency>

        <!--sentinel持久化 访问nacos数据源的依赖-->
        <dependency>
            <groupId>com.alibaba.csp</groupId>
            <artifactId>sentinel-datasource-nacos</artifactId>
        </dependency>

    </dependencies>


    <build>
        <plugins>
            <!-- spring boot打包-->
            <plugin>
                <groupId>org.springframework.boot</groupId>
                <artifactId>spring-boot-maven-plugin</artifactId>
                <executions>
                    <execution>
                        <configuration>
                            <mainClass>com.springcloudalibaba.sentinel.SentinelConsumerApplication</mainClass> <!--也可以不指定MainClass,一般能自动识别-->
                        </configuration>
                        <goals>
                            <goal>repackage</goal> <!--依赖包装入jar包-->
                        </goals>
                    </execution>
                </executions>
            </plugin>
        </plugins>
    </build>
server:
port: 8082 #程序端口号
spring:
application:
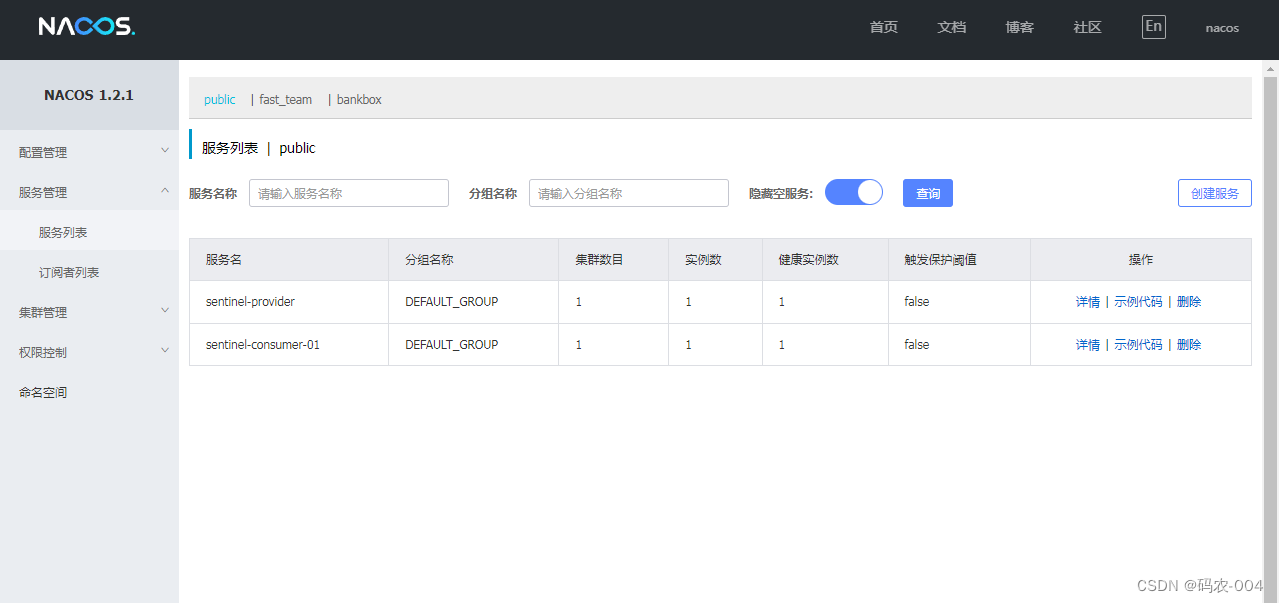
name: sentinel-provider #应用名称
cloud:
sentinel:
transport:
port: 8719 #启动HTTP Server,并且该服务将与Sentinel仪表板进行交互,使Sentinel仪表板可以控制应用 如果被占用则从8719依次+1扫描
dashboard: 127.0.0.1:8718 # 指定仪表盘地址
nacos:
discovery:
server-addr: 127.0.0.1:8848 #nacos服务注册、发现地址
config:
server-addr: 127.0.0.1:8848 #nacos配置中心地址
file-extension: yml #指定配置内容的数据格式
management:
endpoints:
web:
exposure:
include: '*' #公开所有端点
server:
  port: 8081 #程序端口号
spring:
  application:
    name: sentinel-consumer-01 #应用名称
  cloud:
    sentinel:
      datasource:
        ds1:  # ds1是自己取得名字
          nacos: #表示使用nacos
            server-addr: 127.0.0.1:8848 # nacos 服务地址
            dataId: sentinel-consumer-ds1  #nacos dataId
            groupId: DEFAULT_GROUP  #  分组 默认分组
            data-type: json  # 数据类型 json
            rule-type: flow  #flow 表示流控规则
        ds2:  # ds2是自己取得名字
          nacos: #表示使用nacos
            server-addr: 127.0.0.1:8848 # nacos 服务地址
            dataId: sentinel-consumer-ds2  #nacos dataId
            groupId: DEFAULT_GROUP  # 分组 默认分组
            data-type: json  # 数据类型 json
            rule-type: degrade  #degrade 表示流控规则
        ds3:  # ds3是自己取得名字
          nacos: #表示使用nacos
            server-addr: 127.0.0.1:8848 # nacos 服务地址
            dataId: sentinel-consumer-ds3  #nacos dataId
            groupId: DEFAULT_GROUP  # 分组 默认分组
            data-type: json  # 数据类型 json
            rule-type: system  #system 表示系统规则
      transport:
        port: 8719 #启动HTTP Server,并且该服务将与Sentinel仪表板进行交互,使Sentinel仪表板可以控制应用  如果被占用则从8719依次+1扫描
        dashboard: 127.0.0.1:8718 # 指定仪表盘地址
    nacos:
      discovery:
        server-addr: 127.0.0.1:8848 #nacos服务注册、发现地址
      config:
        server-addr: 127.0.0.1:8848 #nacos配置中心地址
        file-extension: yml #指定配置内容的数据格式
management:
  endpoints:
    web:
      exposure:
        include: '*' #公开所有端点
package org.bc.sentinel.controller;

import org.apache.commons.lang3.RandomUtils;
import org.springframework.web.bind.annotation.RequestMapping;
import org.springframework.web.bind.annotation.RestController;


@RestController // @RestController注解是@Controller+@ResponseBody
public class TestController {
    @RequestMapping("/test")  // 标记是该方法是接口请求
    public String test() {
        return "sentinel-provider-test() " + RandomUtils.nextInt(0,1000);
    }
}
package org.bc.sentinel.controller;

import com.alibaba.csp.sentinel.annotation.SentinelResource;
import com.alibaba.csp.sentinel.slots.block.BlockException;
import org.apache.commons.lang3.RandomUtils;
import org.springframework.web.bind.annotation.RequestMapping;
import org.springframework.web.bind.annotation.RequestParam;
import org.springframework.web.bind.annotation.RestController;
import org.springframework.web.client.RestTemplate;
import javax.annotation.Resource;

@RestController // @RestController注解是@Controller+@ResponseBody
public class TestController {
    private final String SERVER_URL = "http://sentinel-provider"; // 这里的服务地址填写注册到Nacos的应用名称
    @Resource
    private RestTemplate restTemplate;


    @RequestMapping("/test")  // 标记是该方法是接口请求
    public String test() {
        return restTemplate.getForObject(SERVER_URL + "/test", String.class);//调用提供者/test接口
    }


    @RequestMapping("/sentinelTest")
    public String sentinelTest() {  // sentinel组件测试方法
       // int i = 1 / 0; // 除数不能为0 ,此处必报错
        return "TestController#sentinelTest " + RandomUtils.nextInt(0, 10000);
    }


    @RequestMapping("/sentinelTestB")
    public String sentinelTestB() {  // sentinel组件测试方法
        return "TestController#sentinelTestB " + RandomUtils.nextInt(0, 10000);
    }

    @RequestMapping("/sentinelTestC")
    public String sentinelTestC() {  // sentinel组件测试方法
        return "TestController#sentinelTestC " + RandomUtils.nextInt(0, 10000);
    }

    /*   @RequestMapping("/sentinelTest")
    public String sentinelTest() {  // sentinel组件测试方法
        return "TestController#sentinelTest " + RandomUtils.nextInt(0, 10000);
    }*/

 /*   @RequestMapping("/sentinelTest")
    public String sentinelTest() {  // sentinel组件测试方法
        try {
            Thread.sleep(1000); // 睡眠1 秒
        } catch (InterruptedException e) {
            e.printStackTrace();
        }
        return "TestController#sentinelTest " + RandomUtils.nextInt(0, 10000);
    }*/


}
package org.bc.sentinel.conf;

import org.springframework.cloud.client.loadbalancer.LoadBalanced;
import org.springframework.context.annotation.Bean;
import org.springframework.context.annotation.Configuration;
import org.springframework.web.client.RestTemplate;

@Configuration // 标记是配置类
public class GenericConfiguration { // 常规配置类
    @LoadBalanced // 标注此注解后,RestTemplate就具有了客户端负载均衡能力
    @Bean
    public RestTemplate restTemplate(){ // 创建RestTemplate,并交个Spring容器管理
        return new RestTemplate();
    }
}